A good blowout will change your life hunny! I get my hair straightened maybe 3-4 times a year when I go in for my color touch up. Sometimes less. I’ve pretty much mastered the process of not adding any additional heat to my hair after the initial styling by my stylist, while still maintaining a silky result. Keep reading to find out how I maintain my straight look for over a week with no added heat or heat damage!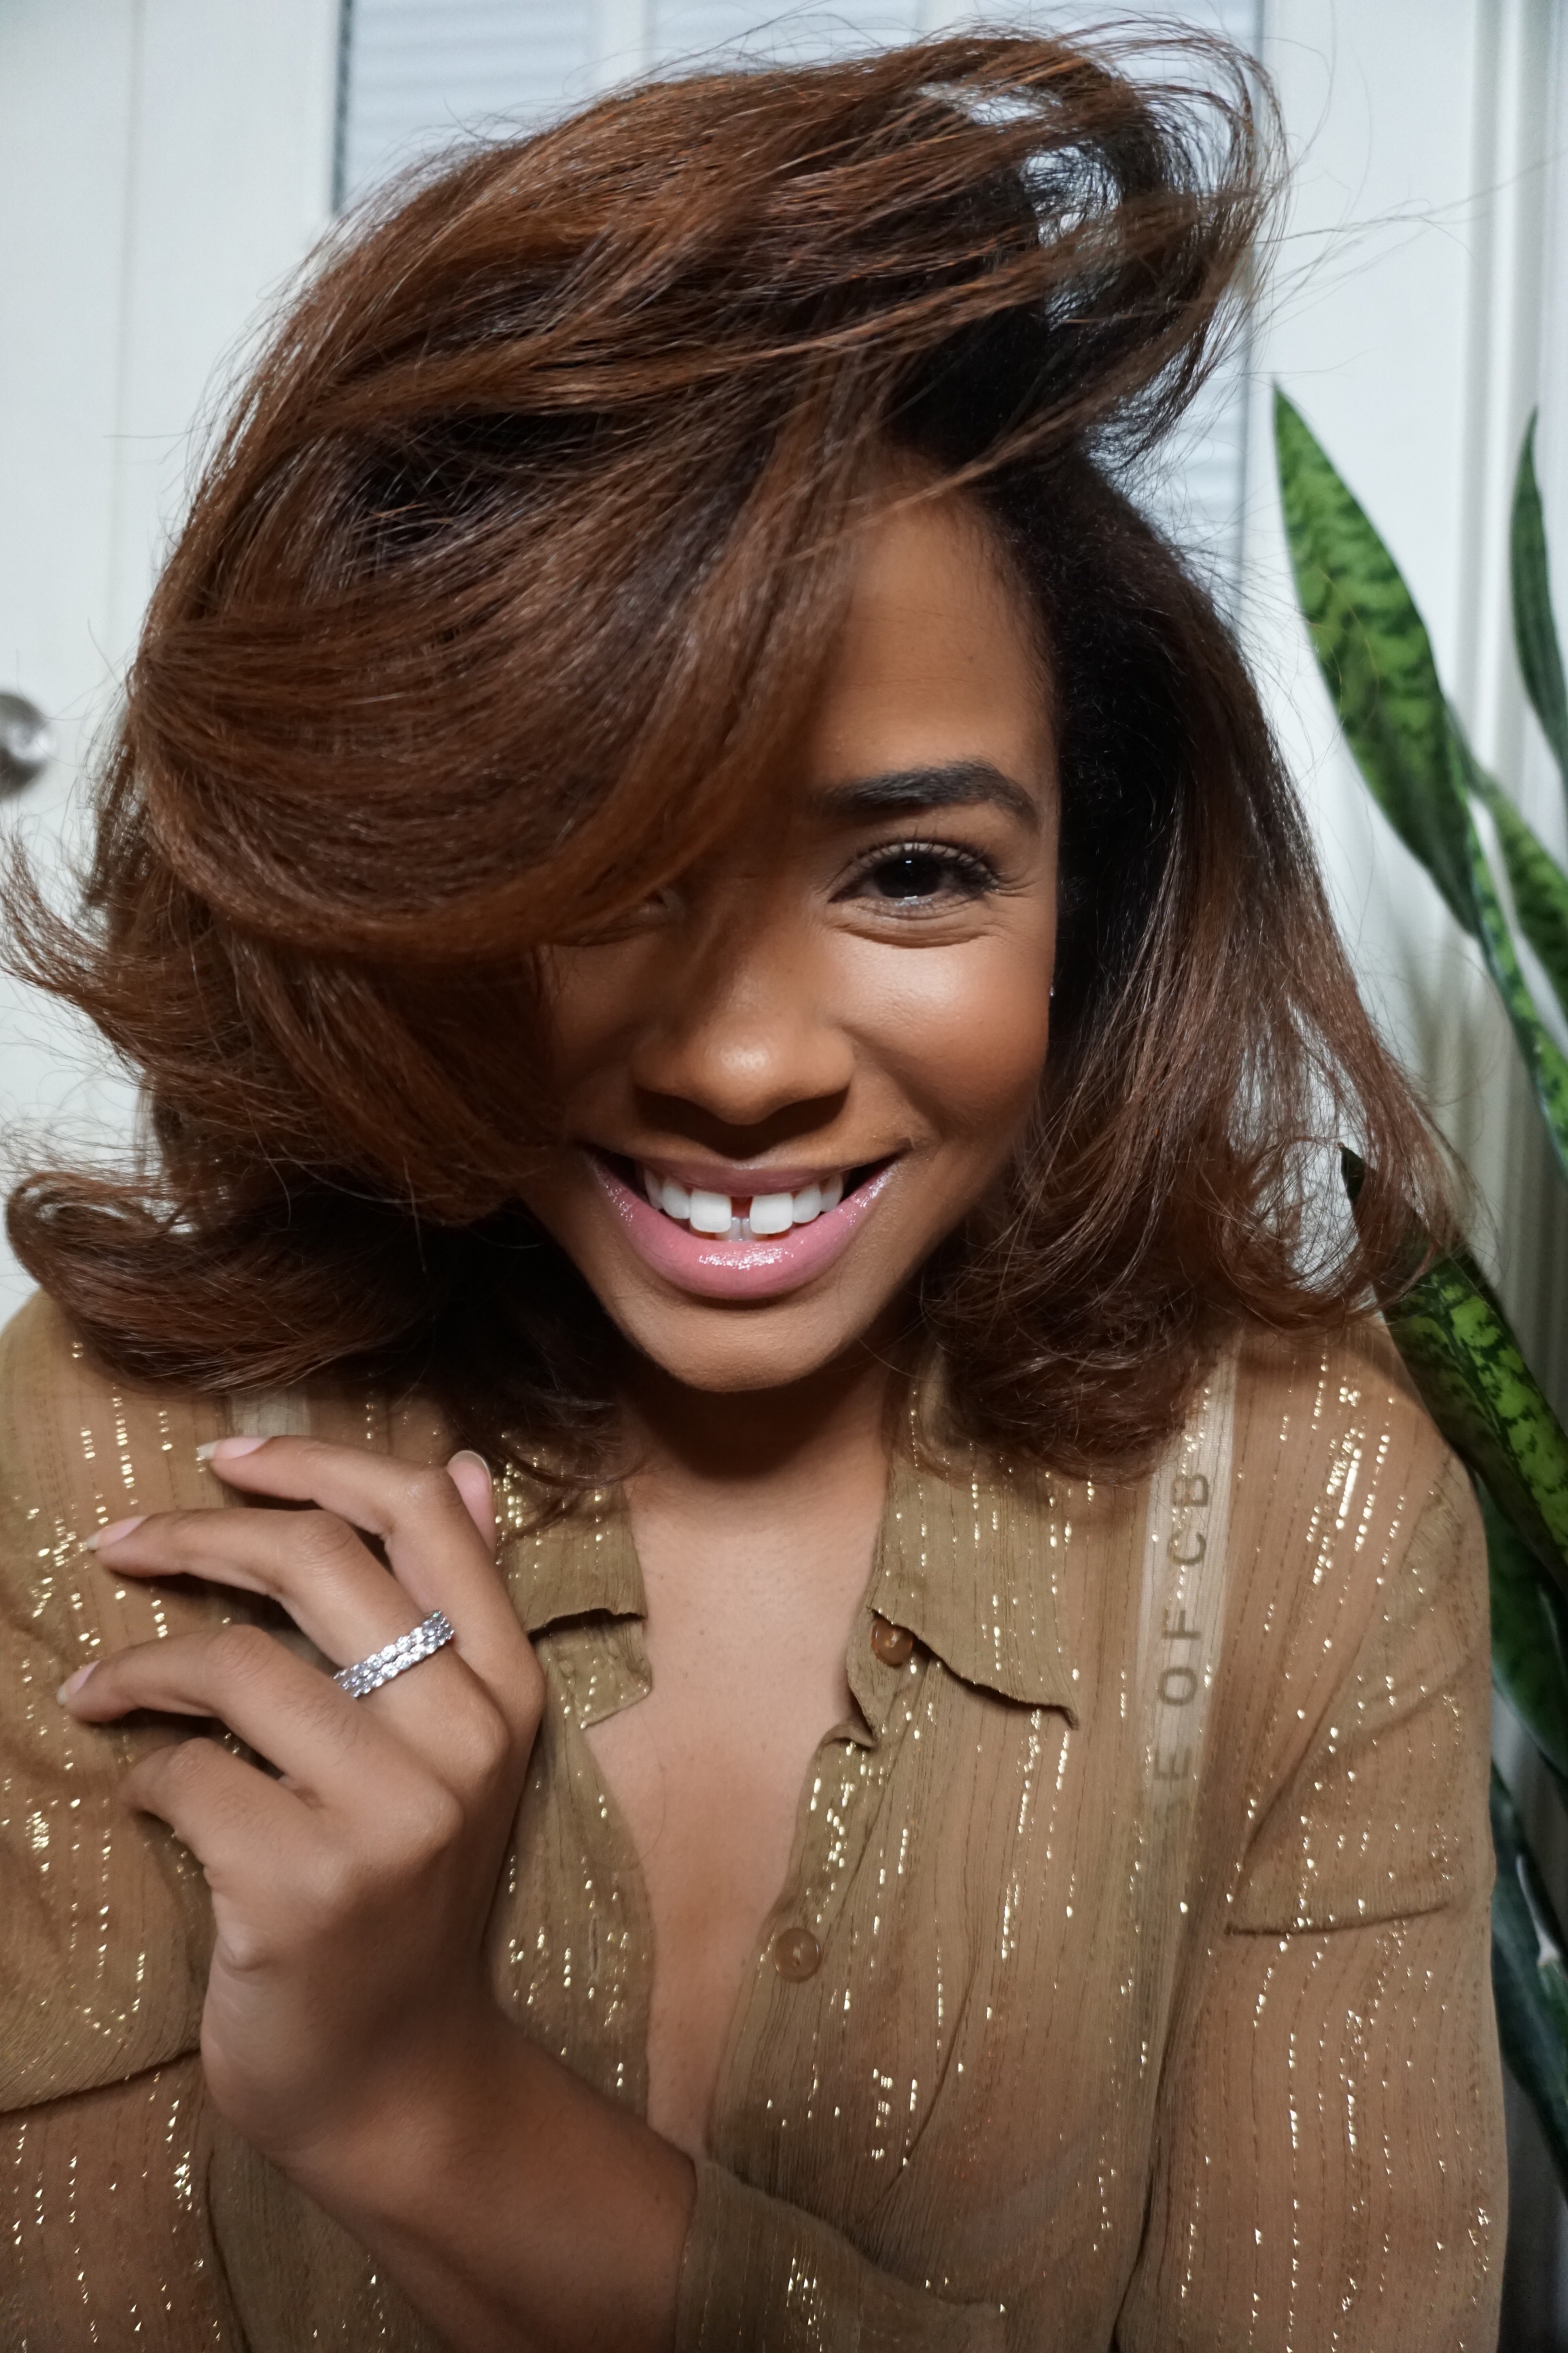
Key Tips
First things first, be prepared to make a few sacrifices. Here are some key tips:
1.I do not work out at all when my hair is straight. It’s simple, sweat WILL make my edges and roots puff up (even if I wrap it during the workout), therefore forcing me to add heat and shortening the length of my flowy blowout. The whole point here is to not add a lick of heat to your hair after it’s straightened the first time. If you absolutely must work out, stick to light exercises for the week.
2. Before showering, I take a silk scarf and tie it around my edges, but on my bonnet, then put my shower cap on and get in. Sometimes I will wrap or pin curl my hair entirely, but either way your edges will be protected. Again, this is a preventative measure to stop the steam caused by hot water from puffing your roots up.
3. IF your edges do start to swell, you can use a firm gel or light oil and a stiff bristle brush to tame them. I like to apply a little gel by the area above my ear by my temple, brush it down, and tuck it behind my ear for control.
Products Needed
-Pin curl clips or bobby pins (like these, or you can buy in bulk at hair supply store)
-Satin bonnet
–Silk Pillowcase
–Wide tooth comb
–Hard bristled brush
-Hair serum (my favs are CURLS Blueberry Bliss Hair Growth Oil , African Pride 5 Essential Oils, and Lottabody Illuminate Me Shine Mist)
-Light hair gel (my fav is Lottabody Control Me Edge Gel)
-Baby toothbrush
My Secret (The Pin-Curl)
The golden key is all in the art of pin curling. Take a small section of hair and begin to roll it upward like a pin wheel until you reach your scalp. Take the clip and pin it down. It should take 1 to 2 clips per curl and the clips shouldn’t hurt your head while sleeping because they are flat. Once you’ve pinned each section, pop your bonnet on and sweet dreams (here’s my favorite silk pillowcase to sleep on, I have it in black). You can also wrap your hair, the results will come out straighter and a little less voluminous as day pass.
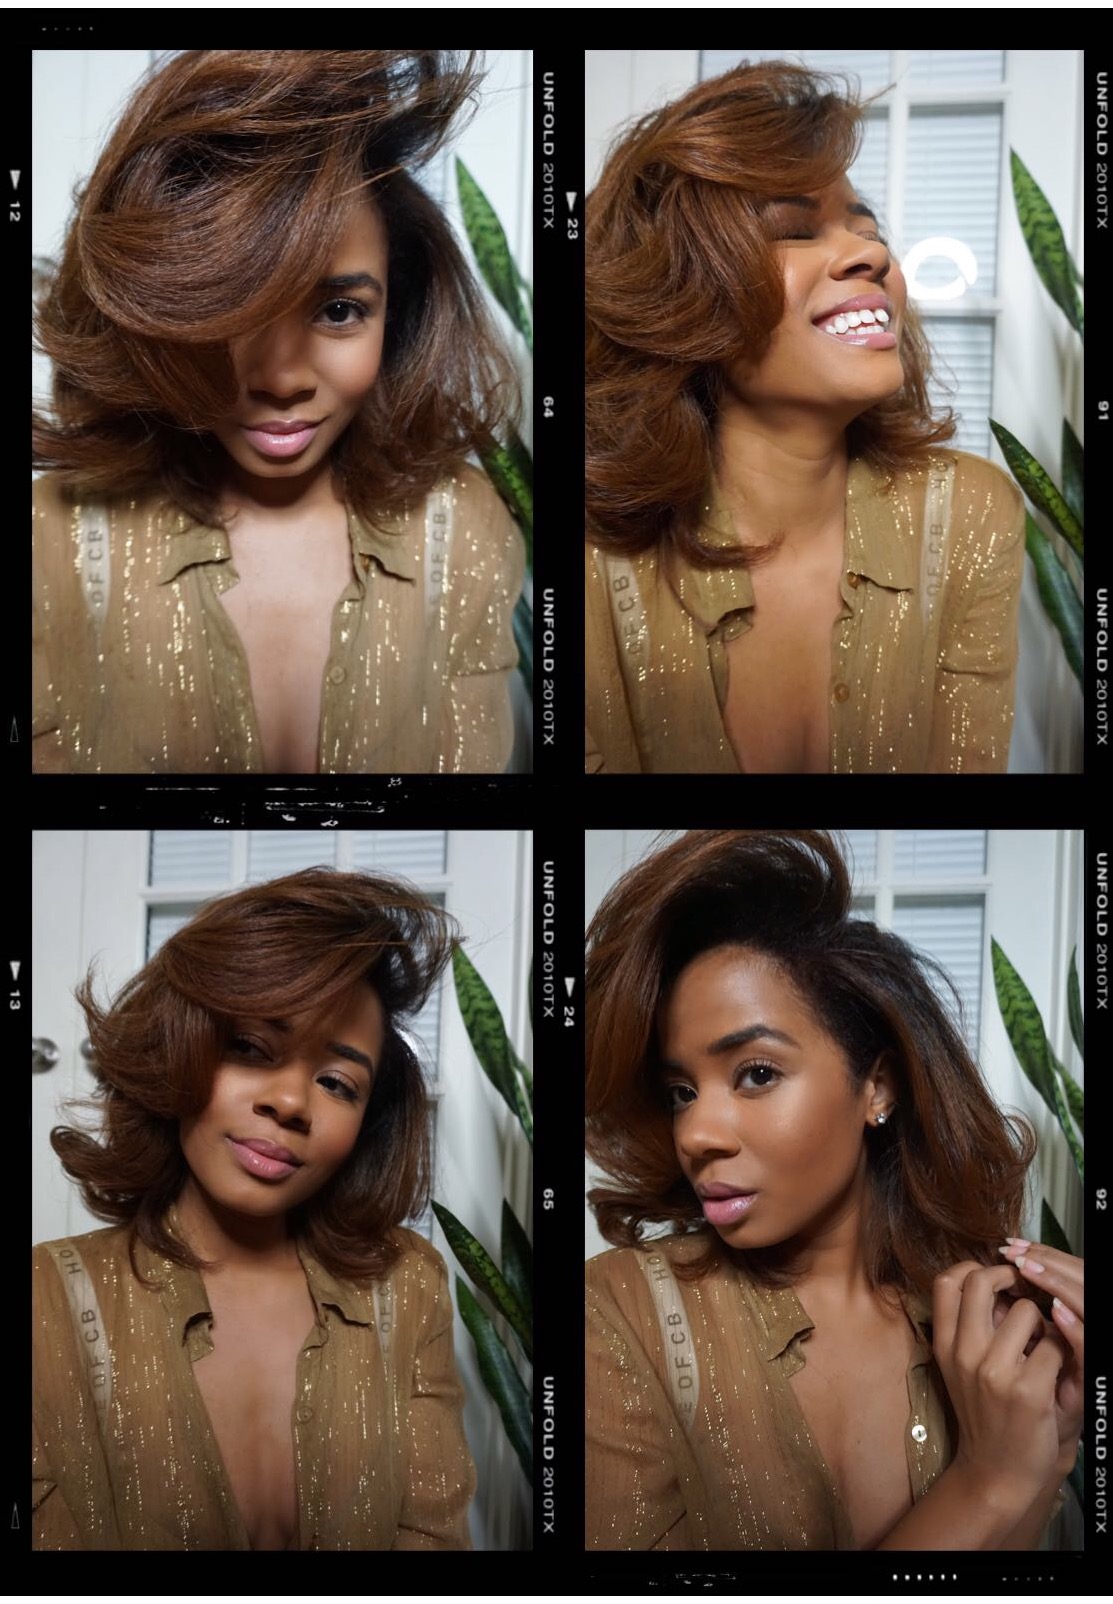
When you wake up, take each pin curl down and let it drop. Take your wide tooth comb and comb through the curls for separation. Try to keep your hands out of your hair throughout the day as much as possible to prevent oils from your hands weighing your hair down. If you do need extra hydration, take a light serum and run your fingers through your curls for added shine as you take out the pin-curls.
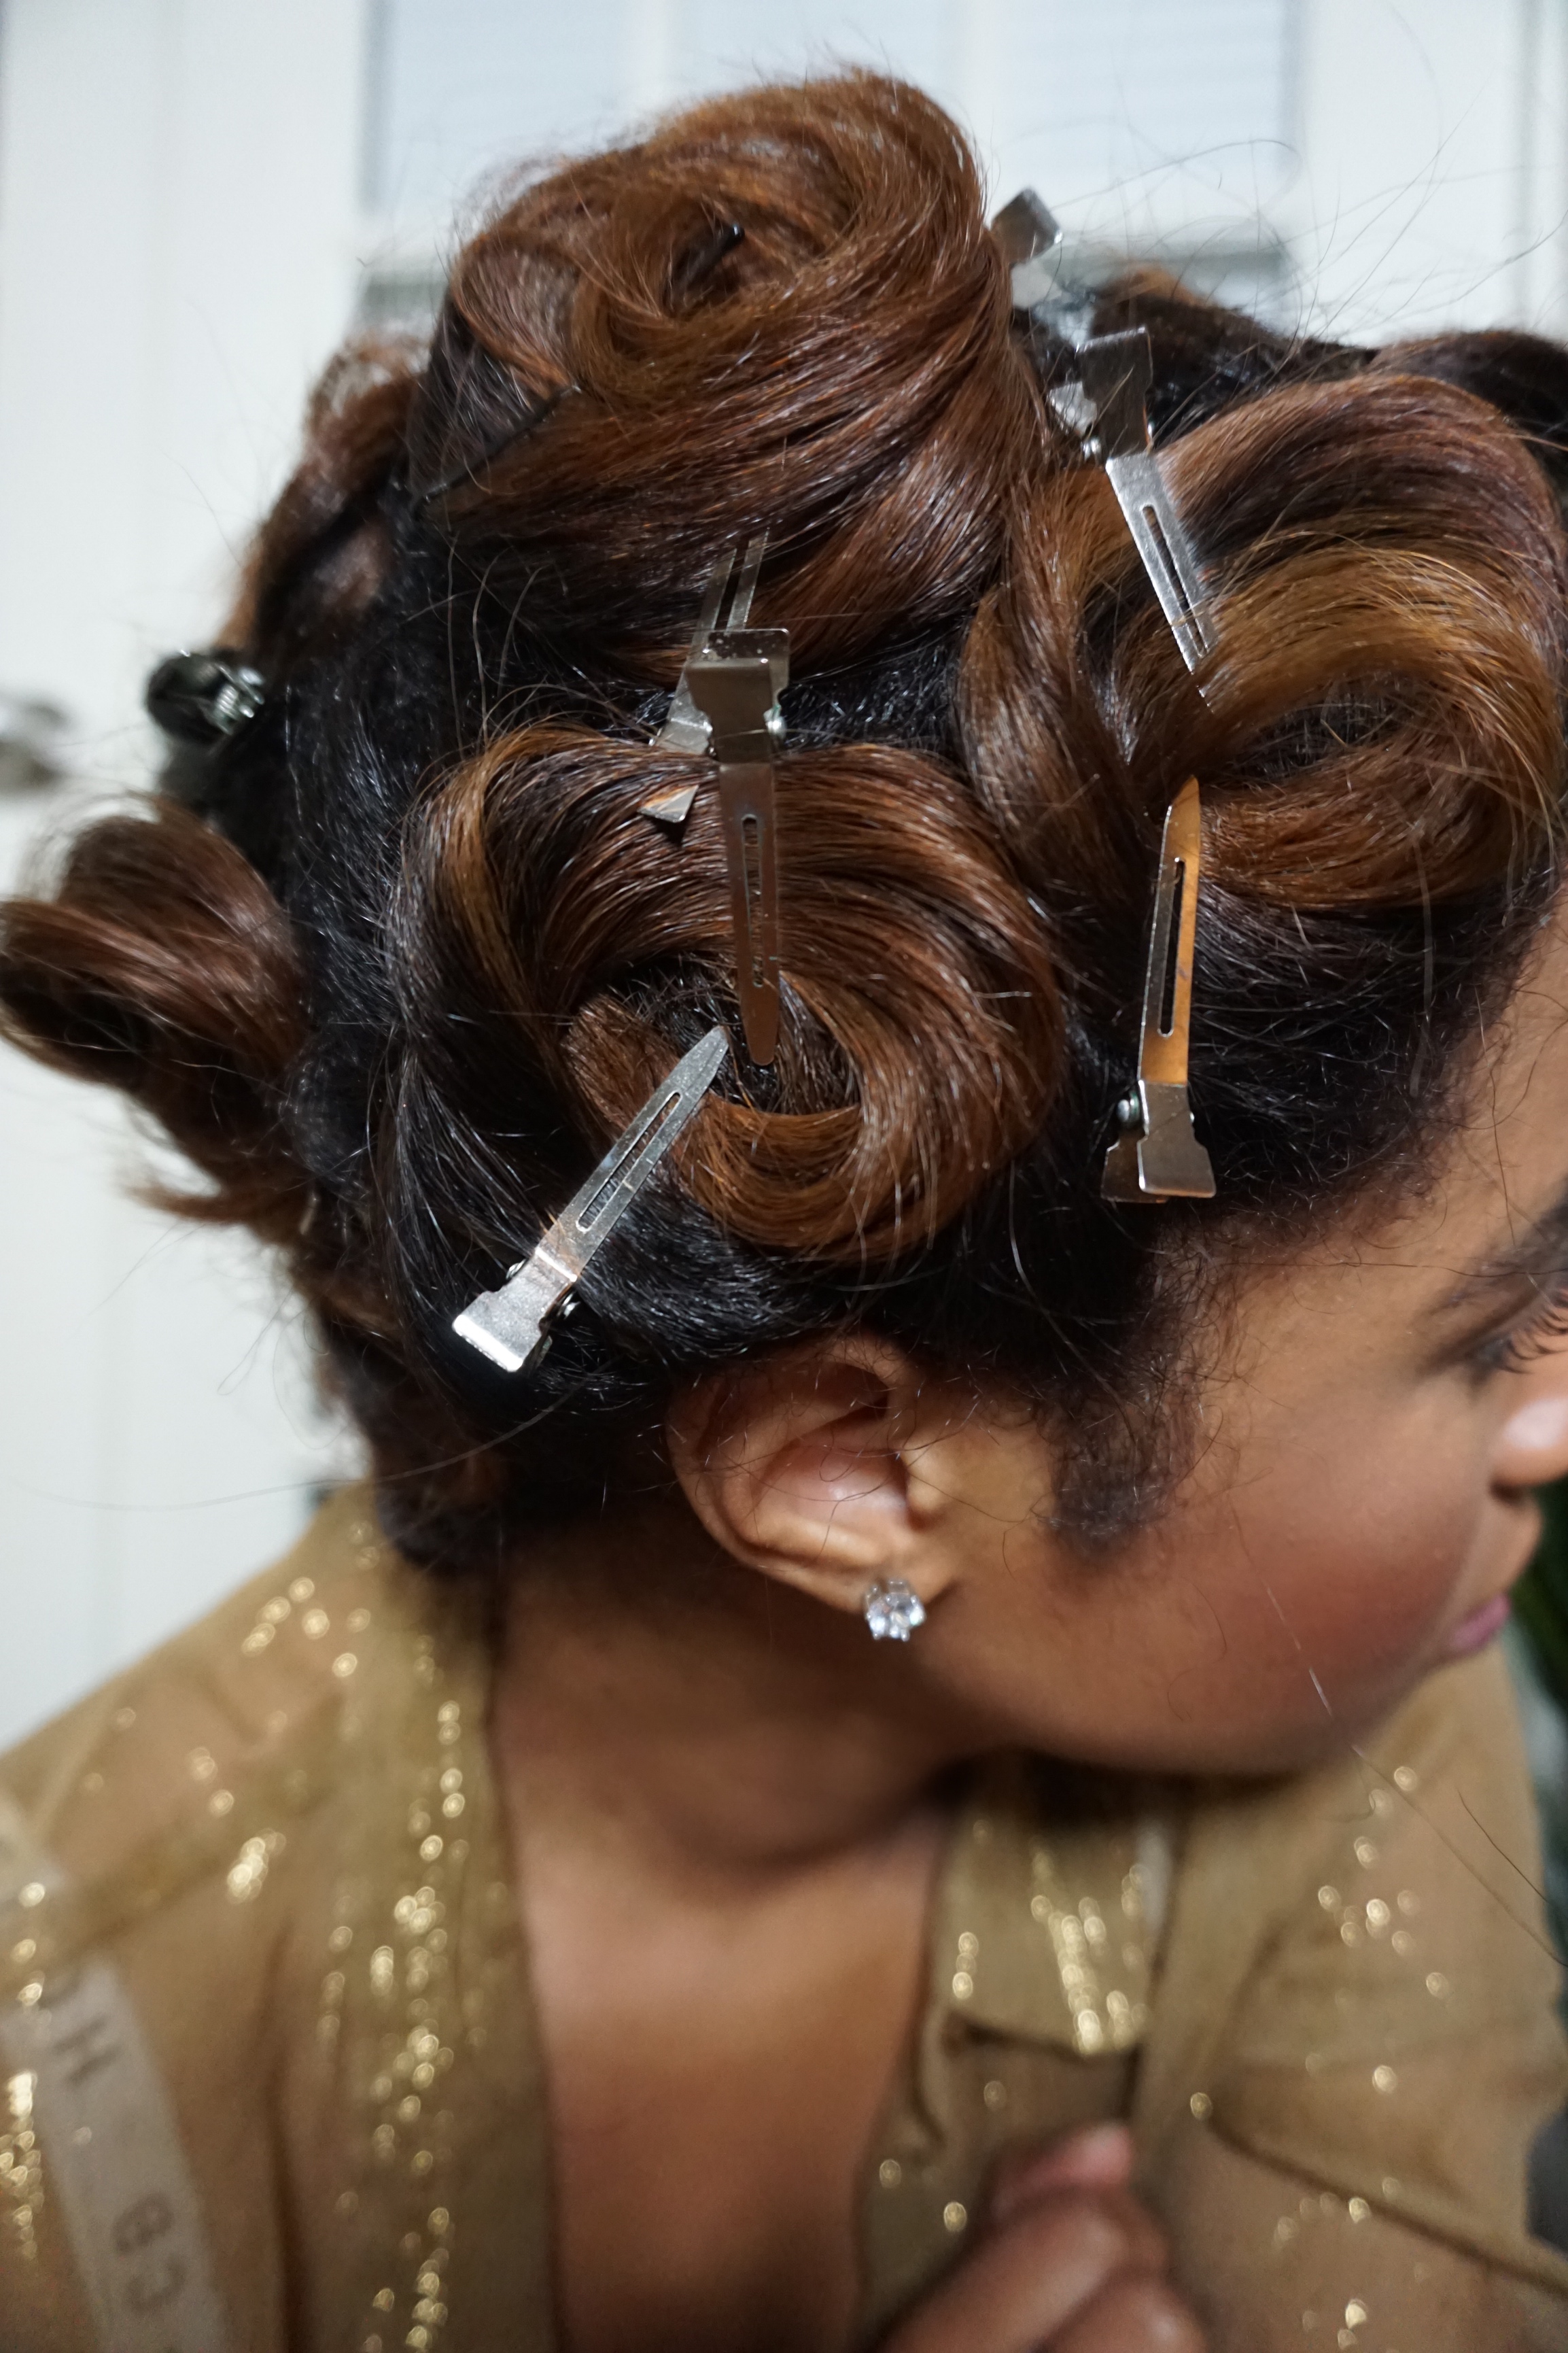
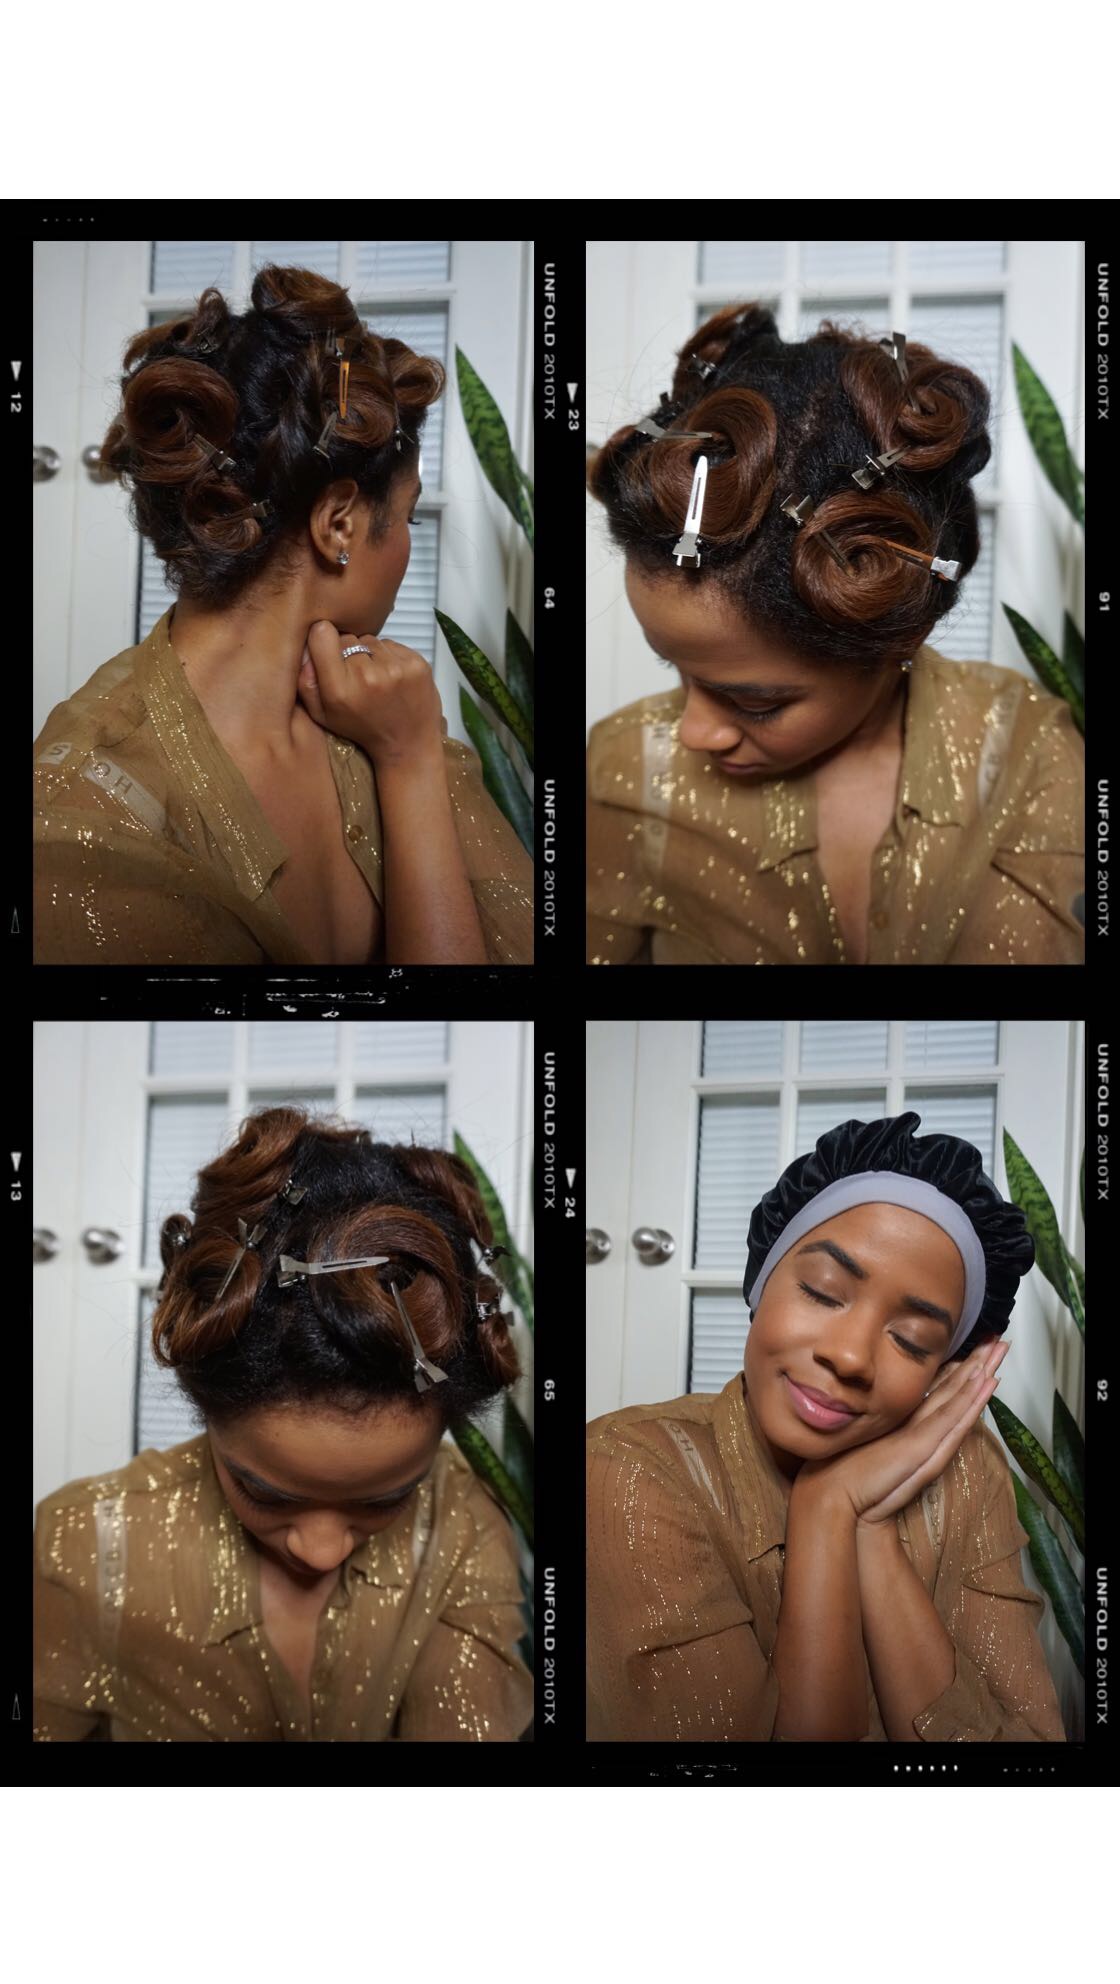
That’s it! The process is pretty simple and you will be a pro in no time at extending your next blow out without adding all the additional heat!
If you loved this post, comment below or shoot me a comment on IG and let me know if you’d like for me to do a separate tutorial post or video on how to pin-curl!
–


That was very informative. Yes I would love to see a tutorial.
Thanks Necole! I’ll deff work on a video 😉
Trying this tonight! Thanks for sharing!
Of course Liz! Can’t wait to see how it turns out. Tag me on IG!
Love the post i recently cut like 2-3 inches of hair to rid myself of heat damage and trying to maintain my bob length straight styles in between heat styles . Great tips
Love to hear that Cathyrn! You have a fresh start to maintain your healthy locks now 😉
Love it ! I wanna know how you get them curls !!! ????
Thank you Donnisha! They were initially curled with a flat iron!